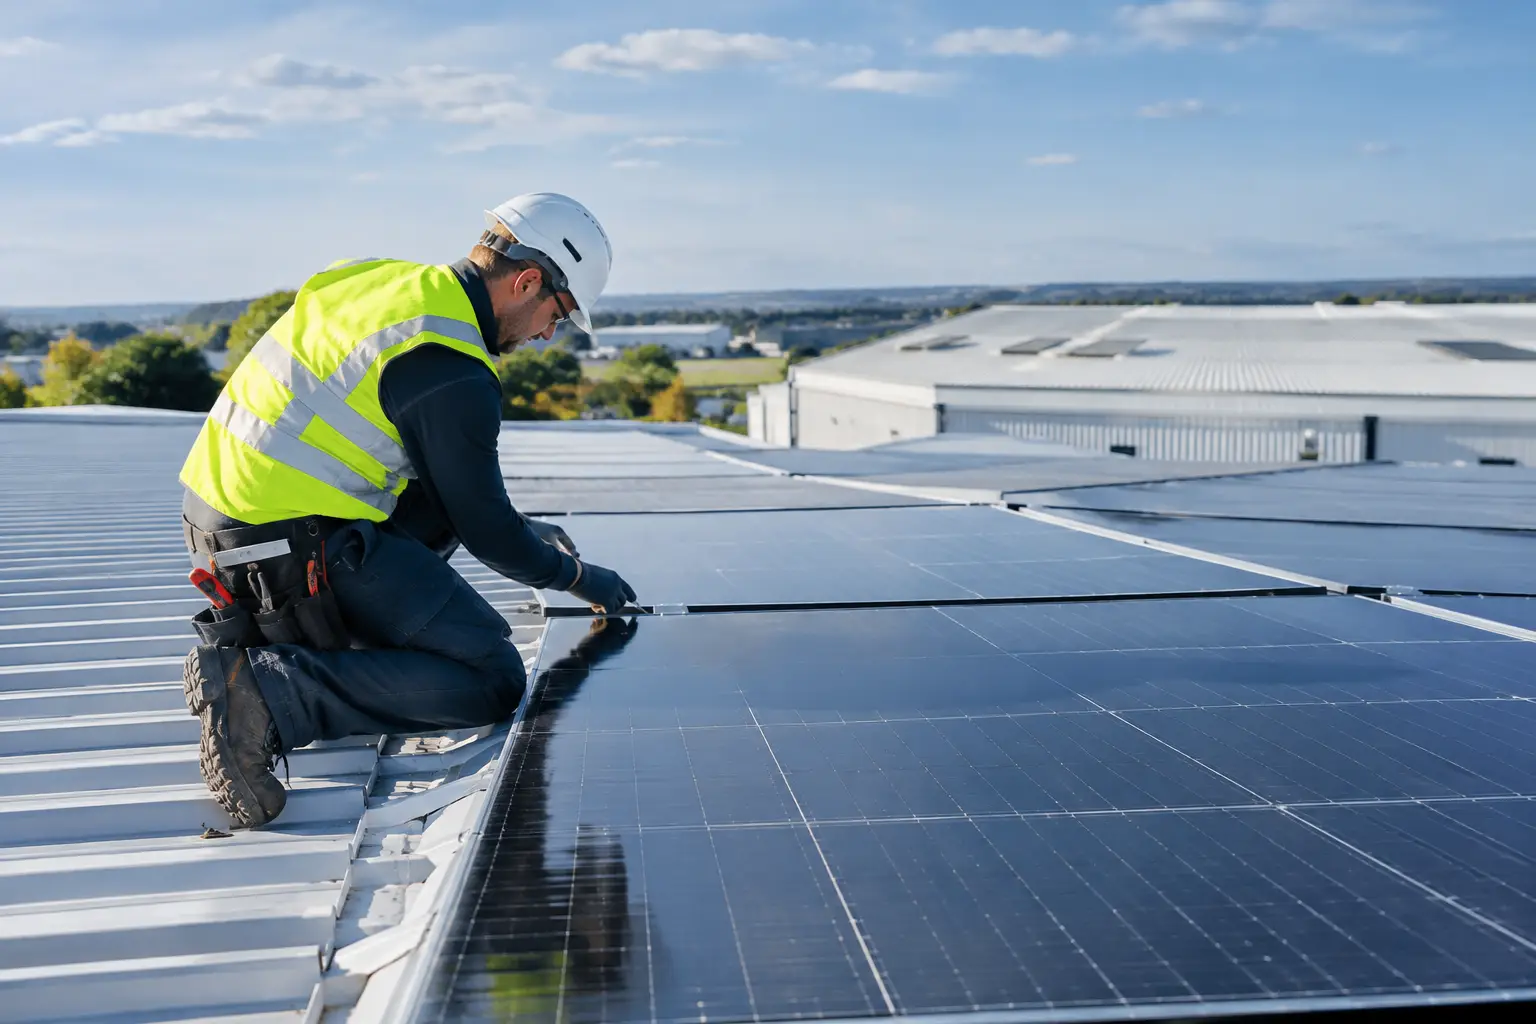
A solar installation is only as dependable as the roof beneath it. Before panels begin generating clean electricity, the roof needs to be safe, sound and suitable for the system being designed. Knowing how to prepare a roof for solar panels helps avoid delays, protects your property and gives the system the best chance of producing strong returns for years to come.
For most homes and commercial buildings, preparation is not a major construction project. It is a practical assessment of roof condition, available space, shading, access and the building’s electrical set-up. A professional survey brings these details together before a final design is agreed.
Start with the condition of the roof
Solar panels are designed to last for decades, so it makes little sense to install them over a roof that is nearing the end of its own life. A roof in good condition can usually accommodate solar with minimal preparation. One with cracked tiles, deteriorating felt, active leaks or damaged flashing should be repaired first.
Look for visible issues from ground level where possible, such as slipped or broken tiles, sagging roof lines, moss build-up that is lifting tiles, blocked gutters or staining in the loft. Inside the property, damp patches, mould and daylight visible through the roof structure need attention before installation.
The age of the roof matters, but it is not the only deciding factor. A well-maintained older slate roof may be perfectly suitable, while a newer roof with poorly fitted tiles may need remedial work. Flat roofs also need checking for membrane condition, drainage and ponding water. An experienced installer will assess the roof covering and recommend whether work is needed before the mounting system is fitted.
Plan repairs before the panels go on
Replacing a few tiles or repairing flashing is generally straightforward before installation. Re-roofing after panels are in place is more involved because the array must be safely removed and reinstalled. If you expect to replace the roof within the next few years, it is usually more cost-effective to complete that work first.
This does not mean every cosmetic imperfection needs fixing. The goal is a weatherproof, structurally sound roof with a service life that matches the planned solar system. A clear conversation during the survey can distinguish essential repairs from work that can wait.
Confirm that the structure can support solar
Panels and their mounting equipment add weight to a roof, alongside the wind and snow loads the structure already handles. Modern photovoltaic panels are not excessively heavy, but structural suitability should never be assumed, particularly on older buildings, large commercial roofs or properties with unusual roof construction.
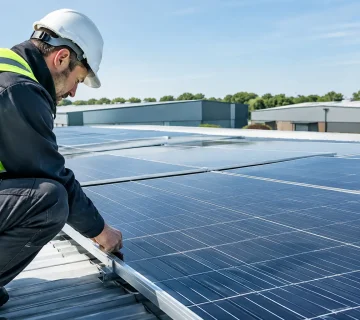
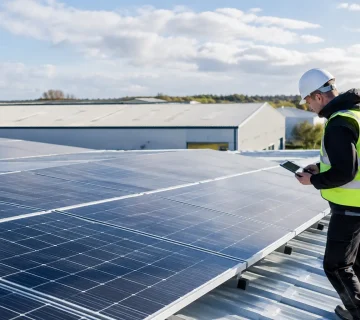
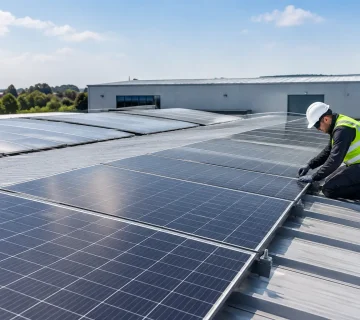
A survey should identify the roof’s construction, rafter spacing, condition and likely fixing points. For a typical pitched domestic roof, the mounting rails are secured to the roof structure rather than relying on the tiles alone. On flat commercial roofs, the design may use a ballasted mounting system, mechanical fixings, or a combination selected to suit the roof and wind exposure.
The right approach depends on the building. More ballast can avoid roof penetrations, for example, but it adds weight and requires a careful structural check. Mechanical fixings can reduce ballast requirements, but must preserve the roof’s waterproofing. These are engineering decisions, not details to leave until installation day.
Assess the available space and shade
A south-facing roof can be productive, but it is not the only viable option. East- and west-facing arrays often generate electricity over a broader part of the day, which can suit homes and businesses that use power in the morning and late afternoon. Roof pitch, orientation and usable area all influence the final design.
Usable area is often smaller than the roof appears. Roof windows, chimneys, vents, soil pipes, dormers and fire-safety clearances may limit panel placement. The system should be designed around these features rather than forcing panels into awkward spaces.
Shade deserves close attention. A nearby tree, chimney, neighbouring building or roof projection can reduce output, especially if it casts shade during the most productive hours. Seasonal changes matter too: a deciduous tree may have little effect in winter but create meaningful shade when in leaf.
Do not remove mature trees solely on the assumption that more panels are always better. Pruning, a revised layout, panel-level optimisation or a slightly smaller system may provide a better balance. A proper site survey and generation assessment should show how shading affects the expected performance.
Make access safe and practical
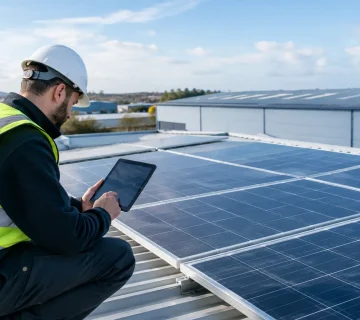
Solar installation involves working at height, moving panels and equipment safely, and protecting the building throughout the work. Clear access helps the installation run smoothly and reduces disruption to occupants, neighbours and daily operations.
For a house, consider where installers can park, unload equipment and position access equipment. Keep driveways, side passages and garden routes clear where possible. Tell the installer about narrow access, shared driveways, restricted parking, overhead cables, fragile paving or any concerns about pets.
On commercial sites, access planning can be more detailed. Deliveries may need to avoid customer hours, loading areas or busy production times. Roof access routes, edge protection, lifting plans and site inductions may all be required. Early planning is especially valuable for hotels, retailers, residential blocks and manufacturing premises where work must fit around ongoing operations.
Check the electrical set-up before installation
Solar panels produce direct current electricity, which is converted by an inverter for use in the property. That means the installation is not just a roof project. The consumer unit, meter position, earthing arrangement, cable routes and available space for equipment all need consideration.
The inverter is commonly installed in a loft, garage, utility area or plant room, depending on the property and system design. It needs a suitable location with ventilation, safe access and an appropriate route for cables. If you are adding battery storage, allow for additional wall or floor space and consider where stored energy will be most useful.
Older consumer units may need upgrades or additional protective devices before solar can be connected safely. This is not necessarily a problem, but it should be included in the quotation rather than discovered partway through the project. Businesses may also need to review their existing electrical capacity, half-hourly metering and the way electricity is used across the site.
A capable installer will manage the necessary electrical design and notification process. In some cases, the distribution network operator must be consulted or approval obtained before commissioning, particularly for larger systems. Build this into the project timetable rather than treating it as an afterthought.
Understand planning and property permissions
Many domestic solar installations in England fall under permitted development rights, but exceptions apply. Listed buildings, properties in conservation areas, unusual installations and ground-mounted arrays may require additional checks. Rules can also differ across the UK, so location and property status should be confirmed early.
If you live in a flat, own a leasehold property or manage a residential block, you may need freeholder, landlord or managing-agent consent. Commercial tenants should review lease obligations before proceeding. The roof may belong to the landlord even where the tenant pays the electricity bills, which makes early agreement essential.
For commercial properties, planning, landlord consent, fire strategy requirements and structural documentation can all affect programme and cost. Addressing these items during design is far easier than changing a project once equipment has been ordered.
Prepare for the survey with the right information
You do not need technical knowledge to arrange a solar survey, but a few details will help create a more accurate proposal. Recent electricity bills show your consumption and tariff. Information about future changes is just as useful, such as an electric vehicle, heat pump, extension, new machinery or changing occupancy.
Before the visit, make a note of the following if available:
- the age of the roof and any known repairs or leaks
- the location of the consumer unit and electricity meter
- access restrictions, parking arrangements and shared access
- planned building works or roof replacements
- ownership, leasehold or landlord-consent considerations
This information allows the system to be designed around how you actually use energy. A household that is empty during the day may benefit from battery storage to use solar power in the evening. A business with high daytime demand may prioritise a larger array that directly offsets grid electricity while operations are running.
Choose preparation that supports long-term performance
Preparing your roof is not about making it look perfect for installation photographs. It is about giving your solar system a secure foundation, protecting the building fabric and making future maintenance easier. Ask how panels will be fixed, where isolators and inverter equipment will sit, how monitoring will work and what support is available after commissioning.
Shard Solar’s survey-led process is designed to identify these practical questions before work begins, so the quotation reflects the property rather than a generic panel package. With the roof checked, access agreed and electrical requirements understood, solar becomes a straightforward investment in lower energy costs, greater independence and cleaner power for the years ahead.